English
 Svenska
 Deutsch
 Suomi
SuomiAbout this article
Categories

About this article
Categories
About this article
Categories
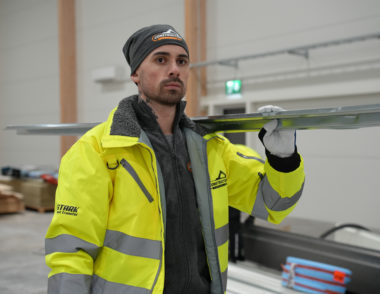
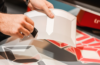
Prints on workwear? Choose the heat transfer Stark!
Products
Tips & Tricks
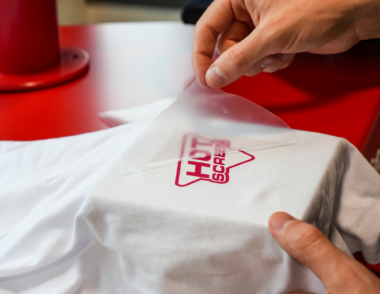
The plotter print is a variation of our product Stark Heat Transfer.
Products
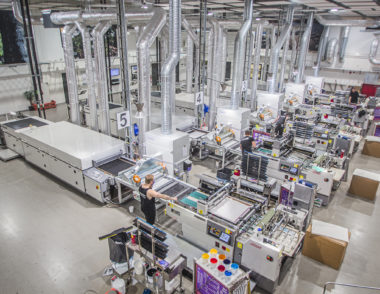
Learn more about the various print methods in the textile industry.
Print methods